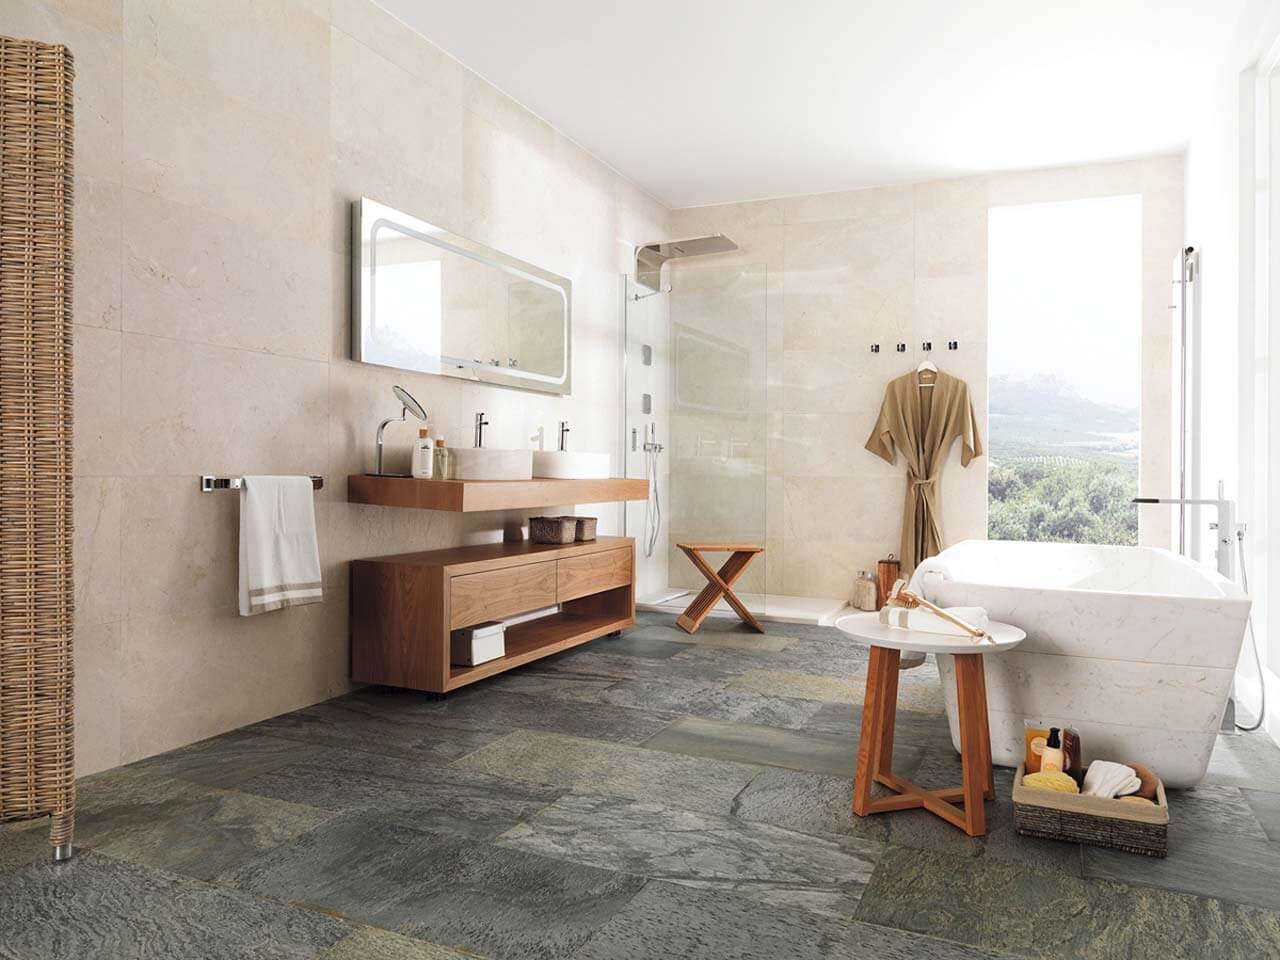
Tiling a shower can be quite a challenging procedure if you’ve never done it before, though it shouldn’t stop you from integrating your own specifically chosen natural stone tiles into your bathroom. Here are some of the tools and materials that you’ll need to start the job:
-
Grout
-
Rubber Float
-
Tile Spacer
-
Sponge
-
Haze Remover
-
Silicone Caulk
-
Trowel
-
Tiles
-
Mortar
With all of these products equipped, you can start focusing on the job itself. Here are some useful tips to follow during the tiling process that will help you get started.
Tip 1 – Strip Shower Area Before Starting
Make sure you’ve stripped the entire space down to just the floor plan, so that’s the ceiling hardware and the walls. It can be challenging to do this and you might be worried about the whole demolition process, so seek professional advice if needs be.
Tip 2 – Marking Out the First Row & Mortar
Use a pencil to mark out where your first row of tiles will be going. Make sure the bottom edge of the tiles isn’t directly touching the surface of the cement board. Try and leave a couple of centimetres between the two. The best mortar to purchase is definitely the premixed option, as the powdered option can be quite difficult to mix yourself.
Tip 3 – Leave Some Time Before Tiling the Rest
Leave around 8-12 hours before continuing with the tiling after the first row. This is so that you’ve got a solidified platform of tiles for the rest to sit on. Al the other rows going upwards from this point will rely on the bottom row, so we advise you not to take any chances here!