If you’ve recently installed a new patio in time for the summer, you might have to soon put up with weeds attempting to surface through the small gaps often created between stone tiling. In fact, weeds are actually a year-round issue that can gradually get worse if you don’t deal with them.

If you don’t fancy the idea of taking up your natural stone tiling again to cope with the problem, here are a few tips for using standard weed killers to get the maximum effect!

Timing

The best time to apply any weed killing solution that you purchase is in the spring, which is when the vast majority of weeds are already at the largest and there are little to no seeds on the surface. If you’re in the middle of summer already, you can still apply weed killing solutions to get rid of weeds, but it may not prevent them from coming back.

Weather

Rain is great for helping plants grow and weeds rely on them as much as any other species. However, rain is also capable of washing away any weed killing solution you’ve applied within a few hours, so choose a dry, warm day to use weed killers.

Leave Them Alone!

Weed killers attack the top half of growth, so digging around might actually stop the process from working effectively. Whilst you might feel like tearing weeds out of the ground every time they appear, it’s much better to let weed killers do their thing.

Follow these guidelines and you’re certain to have weed-free natural stone patio ready for the summer in no time!
Accidentally damaging a stone tile can be frustrating to say the least, especially if it interferes with the natural stone tiling effect you’ve worked so hard to achieve. A lot of the time, we ignore damaged tiles and accept the fact that there’s little you can do to repair them. Well in fact, there is something you can do. Here’s how to replace a damaged tile…

–          Loosen the grout around the edges of the damaged tile using a grout remover. Once you’ve done this you can start to rake out the rest of the grout.

–          Drilling holes into the central areas of the tile helps to weaken the surface, so use a small ceramic drill bit and drill four holes in a square shape into the tile. You can increase the size of the ceramic drill bit if necessary.

–          Equip yourself with a hammer and chisel and gradually chip away at the central space between the holes you’ve made. This gets rid of the central part of the tile, although you should be careful not to scratch the wall beneath it.

–          From here, use the chisel to get underneath the rest of the tile, moving towards the edges until you’ve removed it entirely.  This is where you need to be careful not to damage the surrounding tiles. Try and get rid of much of the adhesive as possible as well.

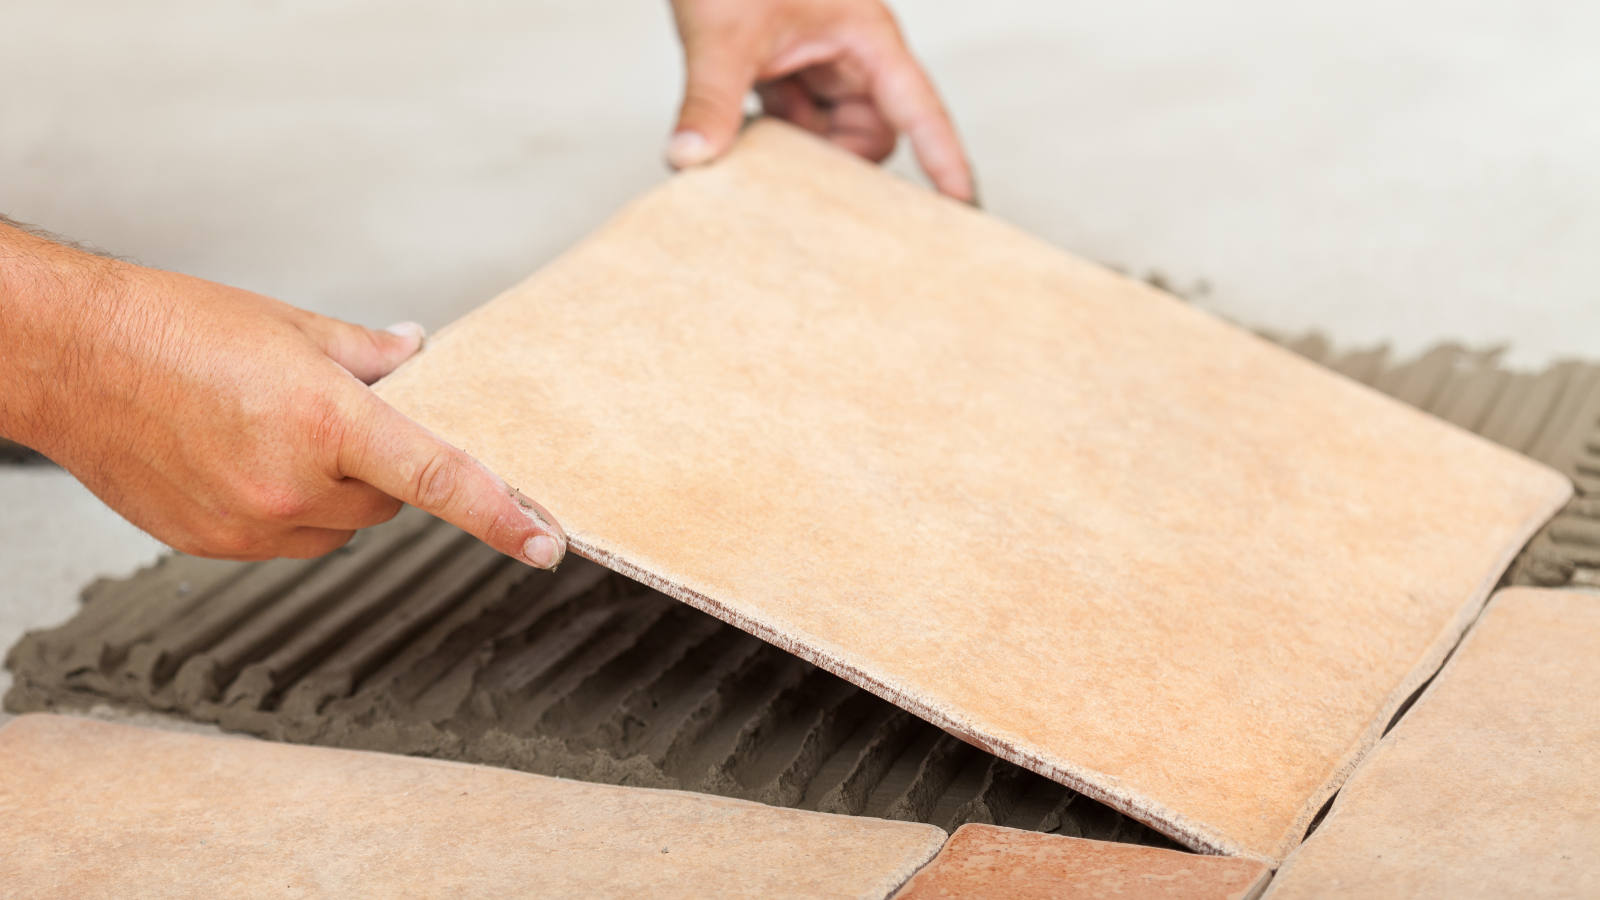
–          Check that your replacement tile fits neatly into the new gap and that the adhesive isn’t pushing the tile further out in comparison to the others. Put new adhesive on the replacement tile and position it in the space.

–          Use a flat piece of wood with that is larger in length to the tile to push it into place. Fit new tiles spaces so you can fill in the edges with grout. It’s important to wait for the adhesive to dry before doing this.

Our tiling FAQ continues into week 2, where we focus on some of the more basic aspects of tiling for those who are carrying out their first ever stone tile project. Sometimes the most obvious questions bring about the most useful results!

Q. How do I work out exactly how many tiles I need?

A. To work out the exact number of tiles you need for your designated tiling space, multiply the height by the width of your wall space to get a measurement in square metres. Then find out the measurement of your chosen individual tiles and divide the surface area of your tiling space by that of your chosen tile.

Q. How can I get a neat and organised row of tiles?

A. It’s important to have tiles of equal size to have a perfectly symmetrical set of wall tiles. Place cut tiles of equal size at both ends of your row, using a spirit level to make sure you have them in line. After marking out the positions on the wall, use a batten to trial your row of tiles, putting spaces in between each one. Mark out the tile positions and gaps along the batten and use this as a gauge.

Q. How can I make sure the spaces between the tiles are even?

A. You can make the space between each tile even by putting plastic tile spacers between each one. Try to make sure that each spacer is pushed as far in as possible so they can also be grouted over. Try not to leave any marks on the tiling in the process.

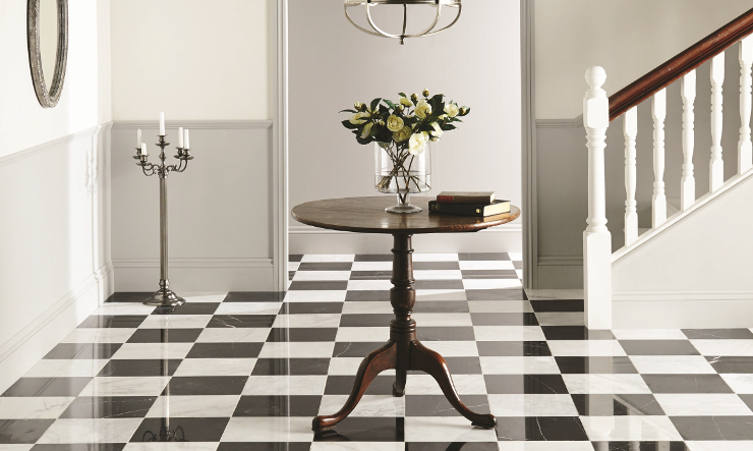
Marble Tiles Gallery Image - Original Style Earthworks Viano White polished marble and Nero Polished Marble

We’ve all experienced the ups and downs of carrying out DIY work and installing new stone flooring or wall tiling is probably one of the most common DIY jobs that you’ll come across. There are always questions that need answering when tiling, so we’ve decided to put together a few FAQ’s for those of you who are seeking out some helpful tiling advice or information. Three questions will be answered each week, so keep an eye on our blog over the coming weeks!

Q. Is it safe to drill through my bathroom tile installation?

A. Yes. However, it all comes down to what your tiles are made from. If they are thin and ceramic, a cheap drill bit is all you need to carry out the job. Porcelain tiles on the other hand require small diamond drill bits and can be much more difficult to start.

Q. Can tiles stick to plywood?

A. Plywood is quite a common bathroom material, though it must be thick enough to not be affected by regular changes in temperature. You will need a latex based bonding solution rather than standard PVA solutions to get tiles to stick to Plywood.

Q. Do I have to seal my natural stone tiling?

A. Yes. Natural stone isn’t porous so you’ll have to carry out a grouting procedure. Once the grout has been left to dry, it should become waterproof. Grouting doesn’t have a significant effect on the look of your natural stone tiles, so don’t worry too much about this.

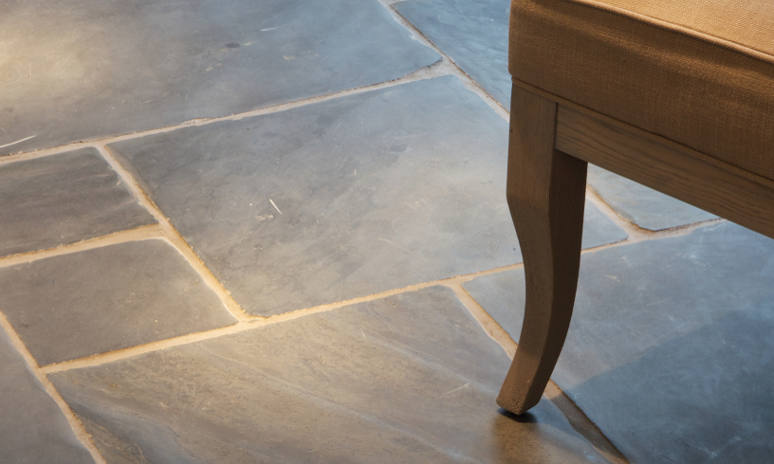
Archerfield Limestone Tile Floor In Cosy Seating Area

We thought it would be a good idea to remind you of some of the benefits of having natural stone tiles as part of your interior design plan, especially as the summer holidays often go hand in hand with various household construction projects. If you’ve considered making the most of our vast natural stone range here at the Stone Tile Emporium for parts of your property, here are some of the reasons why it’s such a popular alternative to other forms of flooring.

Appearance

Artisans - Kit Stone Clifton

Stone Tiles offer a wide variety of different styles and finishes and promote a unique elegance and luxury which can’t be replicated by any other type of tiling or flooring. Stone tiling is different every time, so you also know that no one else in the world has the style you’ve gone for! It is a classy, high quality alternative to carpets and wooden flooring, whilst it also has a historic demeanour with various fossils shaped over millions of years often still visible in the stone.

Maintenance

Tile fitting and installation services hero image

Stone Tiles need to be sealed before and after their installation. Once you do this, you don’t have to treat them again for up to two years.  They are extremely easy to look after and the sealing procedure isn’t as difficult as it sounds either.

Atmospheric

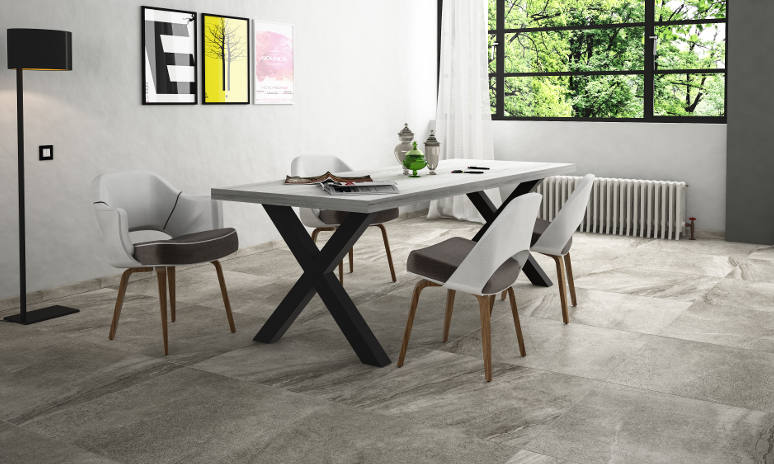
Porcelain tiles gallery image 1 - MUD_Bestone porcelain

Stone Tiles are great all year round as they can help cope with both the hotter and colder seasons. However, Stone Tiles create a sense of warmth wherever they are used, so during the winter with the addition of a warm, cosy fire, you’ll certainly feel a lot more comfortable surrounded by some beautiful stone tiles.

You might have just finished tiling your bathroom walls or wiping over your newly installed floor tiles in the conservatory and realised you’ve got a bunch of spare tiles left over. Before you decide to chuck them in the skip, here are a few alternative uses for stone tiles that might appeal to you.

Coasters

This is a great option if you’ve got some stylish tiles that simply can’t go to waste. Tiles like this can be great for table coasters as they are but you can also fit rubber material underneath to provide solidity. Varnish them for extra longevity.

Borders

You might have a mirror fixed to the wall in your home that looks a bit plain at the moment. Never fear, as a spare set of stone tiles can provide the perfect canvas for a decorative border. Plain tiles can be painted or even sculpted for added effect.

Mosaics

Stone Tile Emporium have a great selection of stone mosaic tiles on offer but if you fancy having a go at it yourself, why not take your spare tiles and become a bit of an artist? Create some pretty mosaics that suit you or loved ones preferences for a great gift idea.

Tabletop

If you’ve got a tabletop without much sparkle or attraction, have a go at painting some designs for a truly unique tabletop. From a small garden surface to a larger living room table, this is a great way to establish your own personal tastes in your home.

If you’ve just acquired some natural stone tiles and you’re wondering where to go next, it might help if you know exactly what it is you need to get the tiling process underway. Tiling might seem reasonably straightforward but there are a number of tools that can make the time-consuming process a whole lot easier. Here are 5 essential tiling tools that you should invest in if they aren’t already part of your toolbox collection.

  1. Start by getting hold of a grout float. These are essential if you want the job to be done neatly and efficiently. Use the grout float to press the mortar into the seams created between the tiles.
  2. A trowel is another essential tool that lets you spread the mortar for the tiles to be placed on. They are designed in a pointed fashion to ensure you get the right amount each time.
  3. You’ll need a mallet to tap the tiles into position. Just make sure you use a rubber mallet instead of a wooden one!
  4. If you’ve noticed a build-up of excess mortar on the top of the tiling, you can use the tough, resilient grout sponge to get rid of it.
  5. Finally, make sure you have a bucket to mix the mortar in. It needs to be new and ideally suited to making thinset mortar.

There you have it, 5 essential tiling tools. Make sure they’re available to you the next time you decide to purchase some tiles from us here at the Stone Tile Emporium!

Mosaics are a wonderful alternative to standard tiling, especially if you’re looking to enhance the character of your property. Mosaics are commonly found in bathrooms, bedrooms, kitchens and even some reception rooms, so you won’t struggle to find somewhere where you can have them.

You can purchase some of the wonderful glass mosaics we have to offer here at the Stone Tile Emporium but if you’re keen to make your own, here’s how to prepare.

If you’ve managed to keep some natural stone tiles such as limestone spare after a separate job, now’s the time to use them. You can sue all kinds of different materials when creating your own mosaics, from natural stone and glass to broken china and even seashells. Once you’ve collected your materials, you’re ready to begin!

Depending on the surface you have in mind for your mosaic, you need to choose a foundation. If you’re creating a mosaic for a tabletop, you need to ensure that the top is sturdy enough. It’s a good idea to give any foundation you choose a thorough clean beforehand as you’ll be using grout and mortar when piecing together your materials.

Try and draw your preferred pattern on the surface first so that you’ve got a plan beforehand. This will make your end product much neater and you can come up with some really detailed ideas using this method.

The final step of your preparation phase is to get hold of some mortar. Mortar is used throughout construction to hold concrete bricks together and it works just as well with mosaics. You can purchase mortar in many retail stores and mix it using manufacturer recommendations if you’re confused.

There are plenty of benefits that go with using natural stone cladding as a character feature in your home. You can get a wide range of visual benefits from having it in bathrooms, living rooms, kitchens and various other parts of a property.

Stone cladding is often used to surround fireplaces, making it a focal point of any living space that relies on this traditional form of heating. Here are a few reasons why natural stone cladding has become popular in both grade-listed and contemporary properties.

Stone cladding offers you a unique opportunity to bring character often associated with the outdoors into the property itself. This natural appearance is capable of changing the entire atmosphere of a room, from bedrooms and bathrooms to living rooms and dining areas.

What’s more, you can get a variety of new textures from your wall with all sorts of slate finishes available on the market.

Stone Cladding is also extremely durable, so you don’t have to concern yourself with worries about scratches, marks or chips in slate cladding.

Moreover, it would seem logical to take extra care of your stone cladding as it can play a vital role in improving the character of your property. Also remember that natural stone is often equipped to work alongside fireplaces where burn marks are possible.

If you’ve decided to get your spring cleaning done a little earlier this year in an attempt to beckon the nicer weather towards us, you’re probably going to have to concentrate on the stone tiles in your bathroom, kitchen, tabletops or conservatory. Here’s a quick guide to getting your spring cleaning done quickly and efficiently.

The first thing you should do is sweep away any dust particles or unattached dirt from the flooring. Once you’re certain the surface is clear, you can reach for the mop. If you’re finding the sweeping process a bit tedious, try vacuuming instead.

The next step is to mop the floors of any sticky substances or short-term stains that have built up. Sticky substances that are too tough to remove with a mop can be scraped off the floor with any kind of scraper. Depending on the floor tiles you’ve got, you should try and find the cleaning solution that works best.

Once you’ve finished mopping up, you can leave the floor to dry for over an hour or so. It really is as simple and as straightforward as that. Remember, cleaning solutions for certain materials such as slate, granite and limestone can be found and purchased online or in any specialist cleaning store.

Contact For Best Prices

Contact Us

Please get in touch using the form below

"*" indicates required fields